No edit summary Tag: sourceedit |
No edit summary Tag: sourceedit |
||
| Line 46: | Line 46: | ||
| − | =='''The Kestrel Cruiser'''== |
||
| − | {{:The_Kestrel_Cruiser}} |
||
| − | |||
| − | =='''The Engi Cruiser'''== |
||
| − | {{:The_Engi_Cruiser}} |
||
| − | |||
| − | =='''The Federation Cruiser'''== |
||
| − | {{:The_Federation_Cruiser}} |
||
| − | |||
| − | =='''The Zoltan Cruiser'''== |
||
| − | {{:The_Zoltan_Cruiser}} |
||
| − | |||
| − | =='''The Mantis Cruiser'''== |
||
| − | {{:The_Mantis_Cruiser}} |
||
| − | |||
| − | =='''The Slug Cruiser'''== |
||
| − | {{:The_Slug_Cruiser}} |
||
| − | |||
| − | =='''The Rock Cruiser'''== |
||
| − | {{:The_Rock_Cruiser}} |
||
| − | |||
| − | =='''The Stealth Cruiser'''== |
||
| − | {{:The_Stealth_Cruiser}} |
||
| − | |||
| − | =='''The Lanius Cruiser'''== |
||
| − | {{:The_Lanius_Cruiser}} |
||
| − | |||
| − | =='''The Crystal Cruiser'''== |
||
| − | {{:The_Crystal_Cruiser}} |
||
=='''Ship Comparisons'''== |
=='''Ship Comparisons'''== |
||
Revision as of 20:22, 26 February 2016
Template:SeeAlso
The universe of FTL is inhabited by friendly and enemy ships. These ships come in a variety of layouts, and can be equipped with various systems and subsystems, weapons, drones, and augmentations.
Each ship can carry a maximum of eight crew members of various races, and each player ship has an initial crew of between one and four members. Each ship starts with varying systems, weapons, scrap values and power levels.
Playable Ships
See Also: Ship Strategies and Ship Comparison.
There are ten ship classes available in FTL:
- The Kestrel Cruiser
- The Engi Cruiser
- The Federation Cruiser
- The Zoltan Cruiser
- The Mantis Cruiser
- The Slug Cruiser
- The Rock Cruiser
- The Stealth Cruiser
- The Lanius Cruiser
- The Crystal Cruiser
Enemy Ships
- Crystal Ships
- Engi Ships
- Federation Ships
- Lanius Ships
- Mantis Ships
- Rebel Ships
- AI-Controlled Rebel Ships
- Rock Ships
- Slug Ships
- Zoltan Ships
- The Rebel Flagship
Reactor
Each ship powers its systems, weapons, and drones through a reactor. The reactor contains a finite number of discrete Energy Bars that can be allocated, and scrap can be used to upgrade the reactor to a maximum of 25 Energy Bars. Strategic use of Zoltan crew members can provide additional power (1 power per Zoltan), and the Battery Backup Subsystem can provide an additional 4 bars of power for 30 seconds (when upgraded), this results in a maximum of 37 Energy Bars.
Layouts
Each ship unlocks with only its Layout A available. You need to complete predefined objectives to unlock additional layouts:
Layout of the PC Ship list/Unlock Progress.
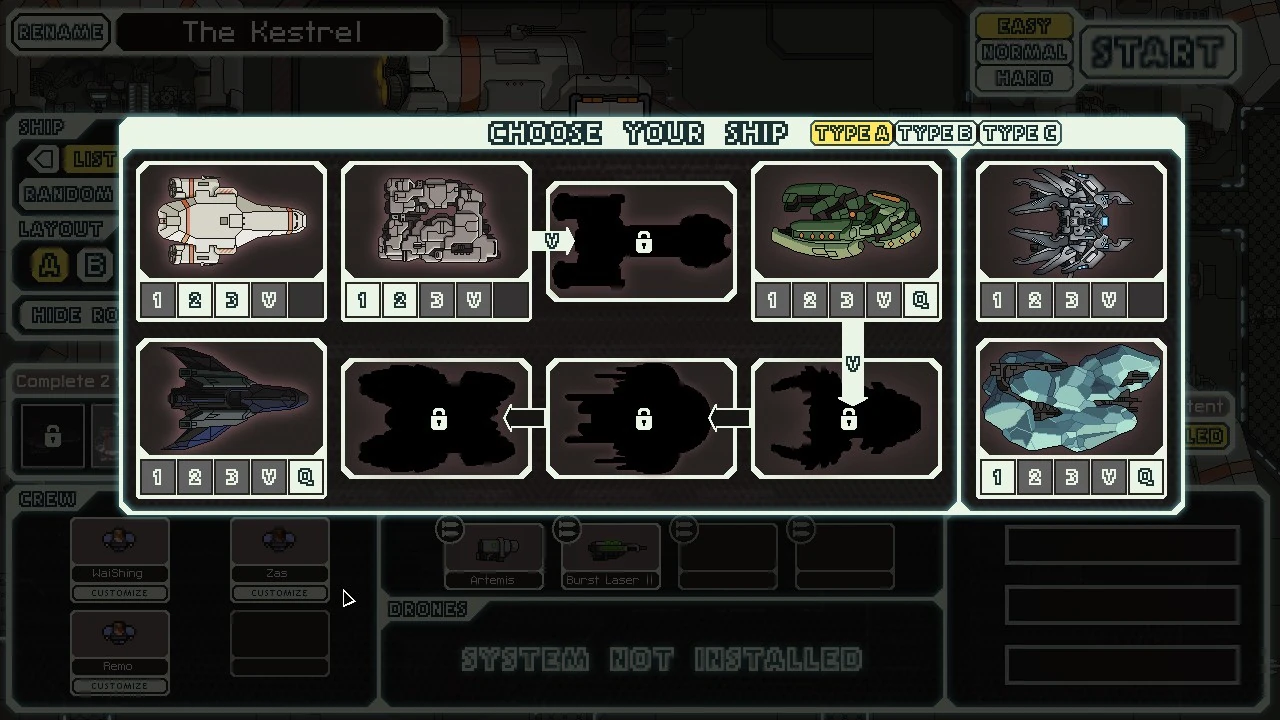
- Layout A - You start with Kestrel Cruiser Layout A. Other Layout A's (Other Ships) can be earned via beating the game on any difficulty with the previous ship. The order in which you unlock is identified by an arrow with a V. See screenshot for example. You can also earn other ships by completing their respective quest.
- Layout B - earn 2 of the 3 ship related Achievements to unlock
- Layout C - reach sector 8 with Layout B and Advanced Mode enabled to unlock
The Lanius and Crystal cruiser do not have a 'C' layout.
Ship Comparisons
Click on the button below to reveal the ship data, then click on different ships to compare them.
- Layout A - The Kestrel  |
- 8 - |
16 |
8 |
2 |
|
|||||||||||
|---|---|---|---|---|---|---|---|---|---|---|---|---|---|---|---|---|
2 |
2 |
1 |
3 |
1 |
- |
- |
- |
- |
- |
- |
- |
1 |
1 |
1 |
- | |
Artemis, Burst Laser II |
- | |||||||||||||||
- Layout B - Red-Tail  |
- 8 - |
16 |
5 |
0 |
|
|||||||||||
|---|---|---|---|---|---|---|---|---|---|---|---|---|---|---|---|---|
2 |
2 |
1 |
4 |
1 |
- |
- |
- |
- |
- |
- |
- |
1 |
1 |
1 |
- | |
Basic Laser, Basic Laser Basic Laser, Basic Laser |
- | |||||||||||||||
- Layout C - The Swallow  |
- 7 - |
16 |
4 |
3 |
||||||||||||
|---|---|---|---|---|---|---|---|---|---|---|---|---|---|---|---|---|
2 |
2 |
1 |
2 |
- |
1 |
- |
- |
- |
- |
- |
- |
1 |
2 |
1 |
- | |
Dual Lasers, Ion Stunner |
- | |||||||||||||||
- Layout A - The Torus 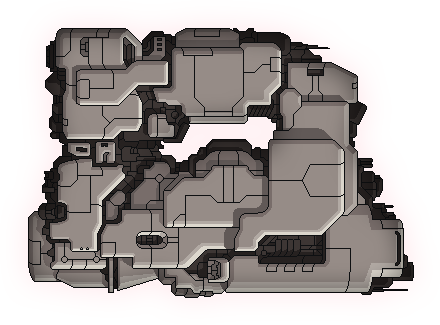 |
- 10 - |
16 |
0 |
15 |
|
|||||||||||
|---|---|---|---|---|---|---|---|---|---|---|---|---|---|---|---|---|
2 |
2 |
1 |
3 |
1 |
- |
3 |
- |
- |
- |
- |
- |
1 |
1 |
1 |
- | |
Ion Blast II |
Combat I | |||||||||||||||
- Layout B - The Vortex 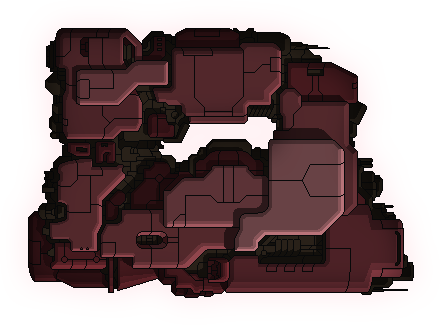 |
- 9 - |
16 |
0 |
6 |
|
|||||||||||
|---|---|---|---|---|---|---|---|---|---|---|---|---|---|---|---|---|
2 |
1 |
1 |
3 |
1 |
- |
3 |
- |
- |
- |
- |
- |
1 |
- |
1 |
- | |
Heavy Ion, Heavy Laser I |
Anti-Personnel, System Repair System Repair | |||||||||||||||
- Layout C - Tetragon 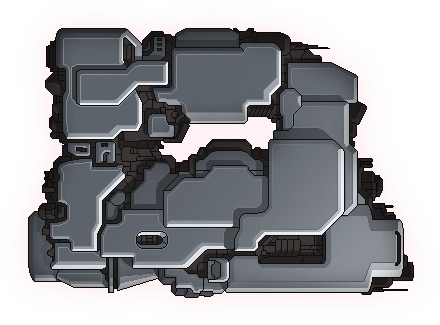 |
- 9 - |
16 |
0 |
25 |
|
|||||||||||
|---|---|---|---|---|---|---|---|---|---|---|---|---|---|---|---|---|
2 |
2 |
1 |
1 |
- |
1 |
2 |
1 |
- |
- |
- |
- |
1 |
1 |
1 |
- | |
Dual Lasers |
Beam I | |||||||||||||||
Cruiser - Layout A - The Osprey  |
- 8 - |
16 |
5 |
2 |
|
|||||||||||
|---|---|---|---|---|---|---|---|---|---|---|---|---|---|---|---|---|
2 |
2 |
1 |
2 |
1 |
- |
- |
- |
- |
- |
- |
L1 |
1 |
1 |
1 |
- | |
Burst Laser II |
- | |||||||||||||||
Cruiser - Layout B - Nisos 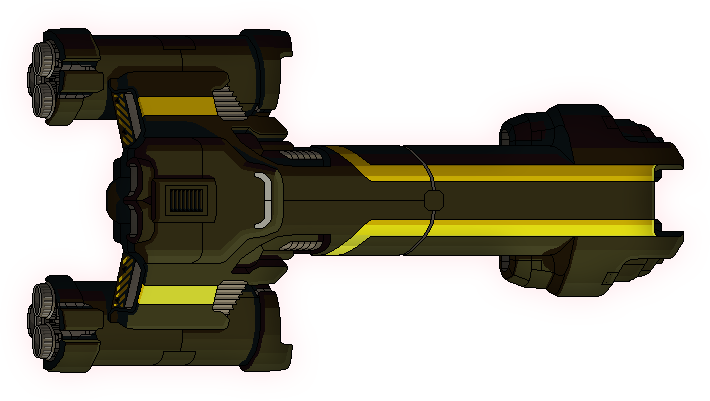 |
- 9 - |
16 |
9 |
0 |
|
|||||||||||
|---|---|---|---|---|---|---|---|---|---|---|---|---|---|---|---|---|
2 |
2 |
1 |
2 |
1 |
- |
- |
- |
- |
- |
- |
L2 |
1 |
1 |
1 |
- | |
Dual Lasers, Leto |
- | |||||||||||||||
Cruiser - Layout C - The Fregatidae 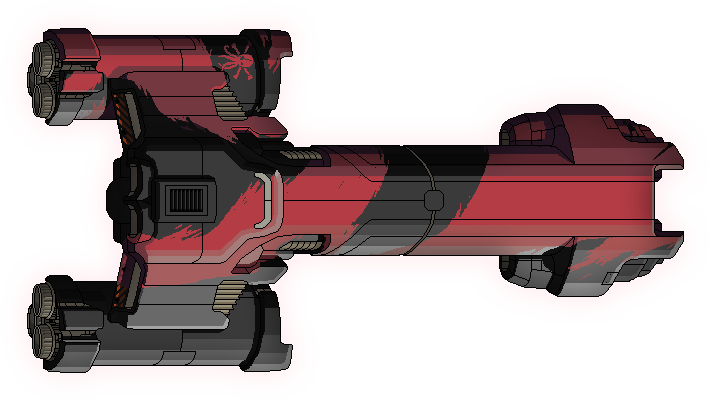 |
- 7 - |
16 |
5 |
0 |
|
|||||||||||
|---|---|---|---|---|---|---|---|---|---|---|---|---|---|---|---|---|
2 |
2 |
1 |
1 |
- |
1 |
- |
- |
- |
1 |
- |
F1 |
1 |
1 |
1 |
- | |
- |
- | |||||||||||||||
- Layout A - The Adjudicator 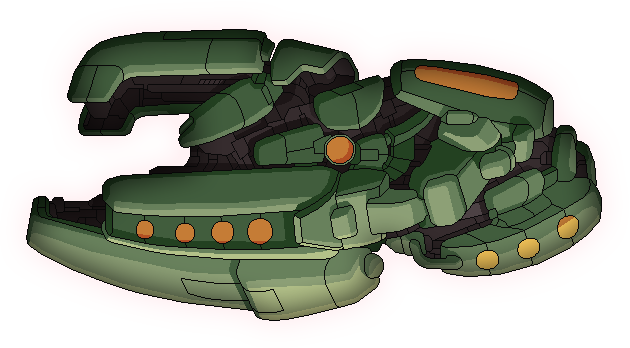 |
- 5 - |
16 |
12 |
2 |
|
|||||||||||
|---|---|---|---|---|---|---|---|---|---|---|---|---|---|---|---|---|
2 |
1 |
1 |
3 |
1 |
- |
- |
- |
- |
- |
- |
- |
1 |
1 |
2 |
- | |
Halberd Beam, Leto |
- | |||||||||||||||
- Layout B - Noether 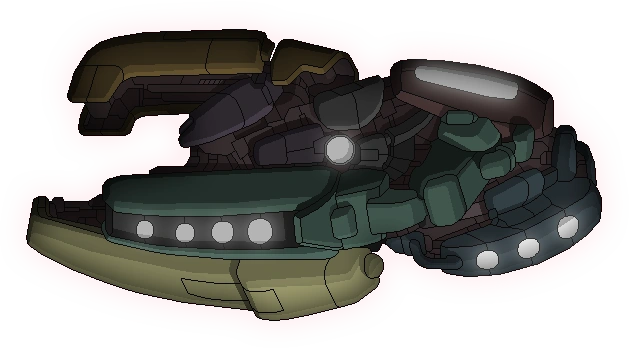 |
- 5 - |
16 |
0 |
2 |
|
|||||||||||
|---|---|---|---|---|---|---|---|---|---|---|---|---|---|---|---|---|
1 |
2 |
1 |
4 |
1 |
- |
- |
- |
- |
- |
- |
- |
1 |
1 |
1 |
- | |
Ion Blast, Ion Blast Pike Beam |
- | |||||||||||||||
- Layout C - Cerenkov 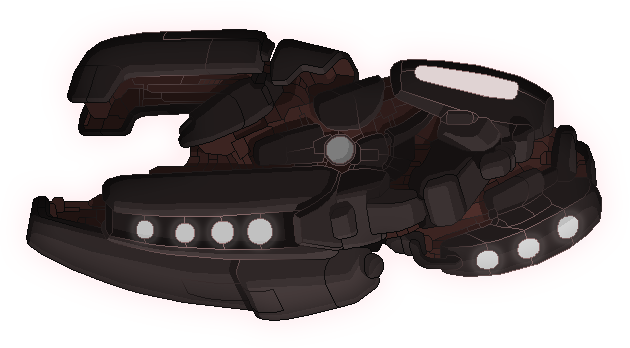 |
- 2 - |
16 |
2 |
15 |
|
|||||||||||
|---|---|---|---|---|---|---|---|---|---|---|---|---|---|---|---|---|
2 |
2 |
1 |
2 |
- |
1 |
3 |
- |
- |
- |
- |
- |
1 |
1 |
1 |
2 | |
Ion Charge |
Beam I | |||||||||||||||
- Layout A - The Gila Monster 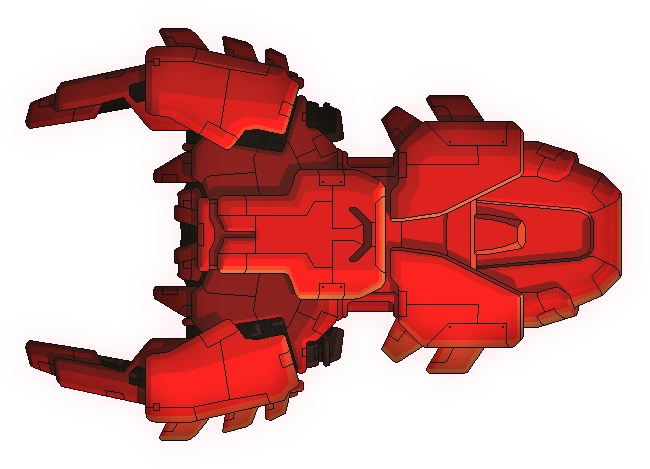 |
- 7 - |
16 |
16 |
0 |
|
|||||||||||
|---|---|---|---|---|---|---|---|---|---|---|---|---|---|---|---|---|
2 |
2 |
1 |
1 |
1 |
- |
- |
- |
- |
1 |
- |
- |
1 |
- |
1 |
- | |
Small Bomb, Basic Laser |
- | |||||||||||||||
- Layout B - The Basilisk  |
- 11 - |
16 |
0 |
15 |
|
|||||||||||
|---|---|---|---|---|---|---|---|---|---|---|---|---|---|---|---|---|
4 |
1 |
1 |
1 |
1 |
- |
3 |
- |
- |
1 |
- |
- |
1 |
1 |
1 |
- | |
- |
Boarding, Defense I | |||||||||||||||
- Layout C - The Theseus 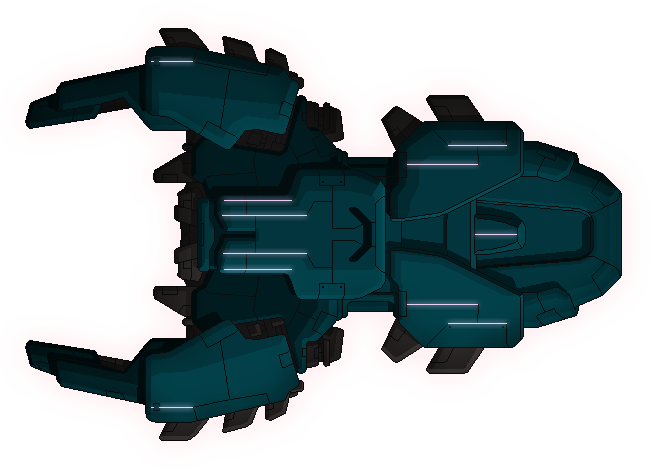 |
- 8 - |
16 |
20 |
0 |
|
|||||||||||
|---|---|---|---|---|---|---|---|---|---|---|---|---|---|---|---|---|
2 |
2 |
1 |
2 |
- |
2 |
- |
- |
- |
1 |
- |
- |
1 |
1 |
1 |
- | |
Lockdown Bomb, Stun Bomb |
- | |||||||||||||||
- Layout A - Man of War 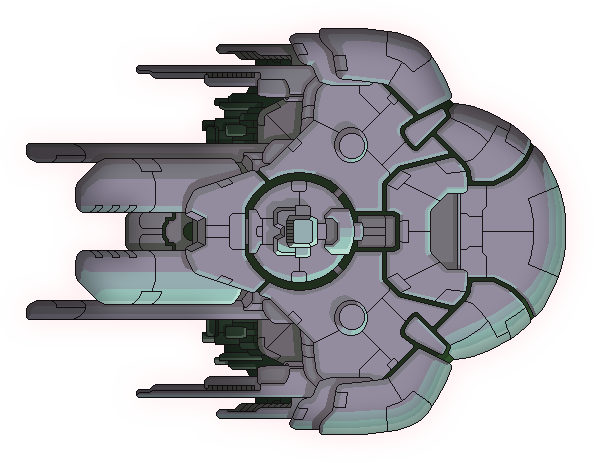 |
- 8 - |
16 |
15 |
0 |
|
|||||||||||
|---|---|---|---|---|---|---|---|---|---|---|---|---|---|---|---|---|
2 |
2 |
1 |
3 |
1 |
- |
- |
- |
- |
- |
- |
- |
1 |
- |
2 |
- | |
Anti-Bio Beam, Breach Bomb I Dual Lasers |
- | |||||||||||||||
- Layout B - The Stormwalker 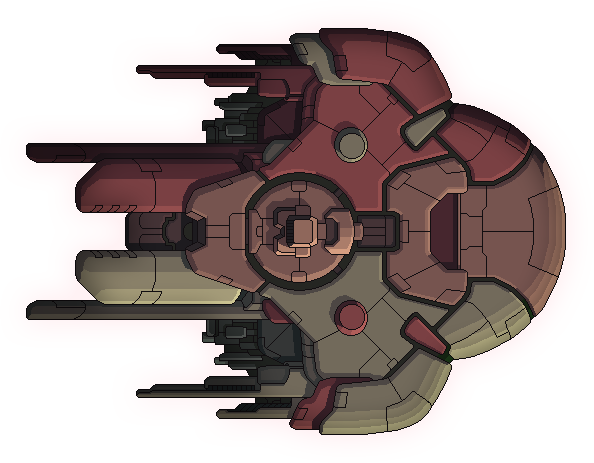 |
- 7 - |
16 |
25 |
0 |
|
|||||||||||
|---|---|---|---|---|---|---|---|---|---|---|---|---|---|---|---|---|
2 |
2 |
1 |
2 |
- |
- |
- |
- |
- |
1 |
- |
- |
1 |
- |
2 |
- | |
Healing Burst, Artemis |
- | |||||||||||||||
- Layout C - Ariolimax 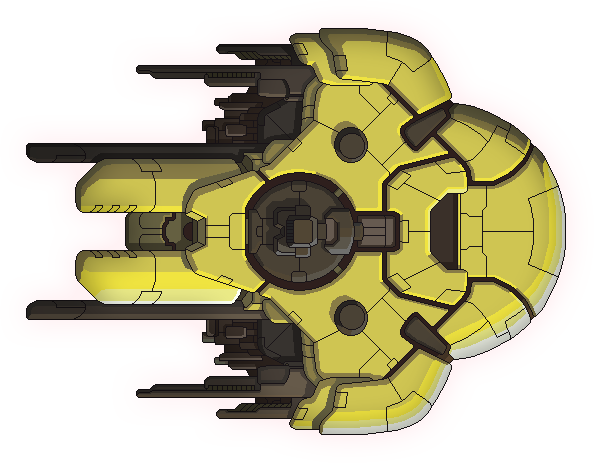 |
- 9 - |
16 |
1 |
15 |
|
|||||||||||
|---|---|---|---|---|---|---|---|---|---|---|---|---|---|---|---|---|
2 |
2 |
1 |
2 |
- |
1 |
- |
1 |
1 |
- |
- |
- |
1 |
- |
2 |
- | |
Chain Laser |
- | |||||||||||||||
- Layout A - Bulwark 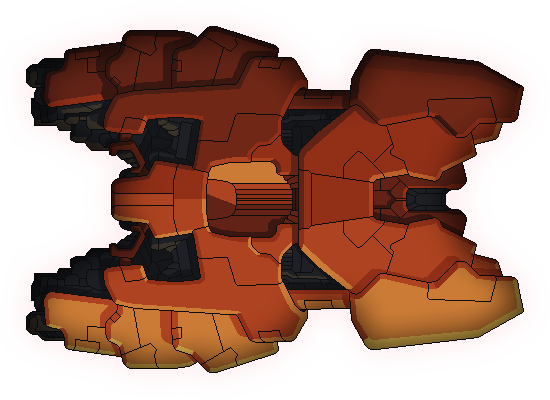 |
- 8 - |
16 |
28 |
0 |
|
|||||||||||
|---|---|---|---|---|---|---|---|---|---|---|---|---|---|---|---|---|
2 |
2 |
1 |
3 |
1 |
- |
- |
- |
- |
- |
- |
- |
1 |
1 |
1 |
- | |
Artemis, Hull Missile |
- | |||||||||||||||
- Layout B - Shivan 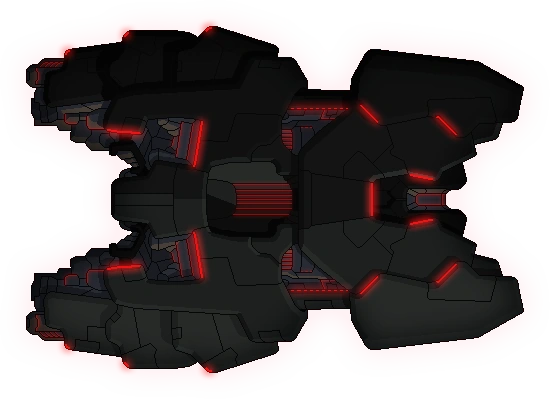 |
- 8 - |
16 |
18 |
0 |
|
|||||||||||
|---|---|---|---|---|---|---|---|---|---|---|---|---|---|---|---|---|
2 |
2 |
2 |
3 |
1 |
- |
- |
- |
- |
- |
- |
- |
1 |
1 |
- |
- | |
Heavy Pierce I, Fire Bomb |
- | |||||||||||||||
- Layout C - Tektite 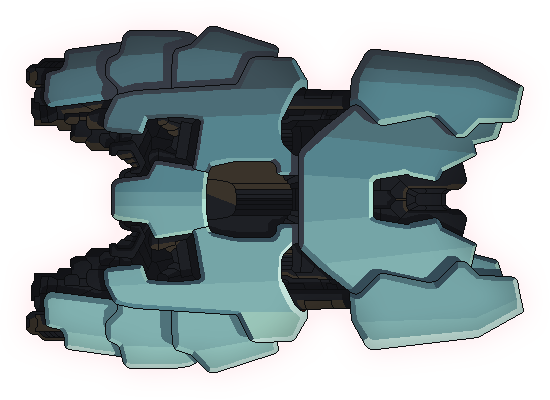 |
- 8 - |
16 |
15 |
0 |
|
|||||||||||
|---|---|---|---|---|---|---|---|---|---|---|---|---|---|---|---|---|
2 |
2 |
1 |
3 |
- |
1 |
- |
- |
- |
- |
- |
- |
1 |
1 |
1 |
- | |
Swarm, Crystal Heavy I |
- | |||||||||||||||
- Layout A - The Nesasio  |
- 8 - |
16 |
0 |
0 |
|
Titanium System Casing | ||||||||||
|---|---|---|---|---|---|---|---|---|---|---|---|---|---|---|---|---|
- |
4 |
1 |
2 |
1 |
- |
- |
- |
- |
- |
1 |
- |
1 |
2 |
1 |
- | |
Mini Beam, Dual Lasers |
- | |||||||||||||||
- Layout B - DA-SR 12  |
- 7 - |
16 |
0 |
0 |
|
|||||||||||
|---|---|---|---|---|---|---|---|---|---|---|---|---|---|---|---|---|
- |
2 |
1 |
4 |
1 |
- |
- |
- |
- |
- |
2 |
- |
1 |
2 |
1 |
- | |
Glaive Beam |
- | |||||||||||||||
- Layout C - Simo-H  |
- 7 - |
16 |
0 |
16 |
|
|||||||||||
|---|---|---|---|---|---|---|---|---|---|---|---|---|---|---|---|---|
- |
3 |
1 |
2 |
- |
1 |
2 |
- |
- |
- |
- |
- |
1 |
- |
1 |
- | |
Charge Laser+, Mini Beam |
Shield+, Anti-Drone | |||||||||||||||
- Layout A - Kruos  |
- 8 - |
16 |
3 |
9 |
|
|||||||||||
|---|---|---|---|---|---|---|---|---|---|---|---|---|---|---|---|---|
2 |
1 |
1 |
3 |
- |
1 |
- |
1 |
- |
- |
- |
- |
1 |
1 |
1 |
- | |
Chain Laser, Ion Stunner |
- | |||||||||||||||
- Layout B - The Shrike  |
- 8 - |
16 |
0 |
0 |
|
|||||||||||
|---|---|---|---|---|---|---|---|---|---|---|---|---|---|---|---|---|
2 |
1 |
1 |
1 |
- |
1 |
- |
- |
1 |
1 |
- |
- |
1 |
- |
1 |
- | |
Advanced Flak |
- | |||||||||||||||
- Layout A - Bravais  |
- 8 - |
16 |
0 |
0 |
|
|||||||||||
|---|---|---|---|---|---|---|---|---|---|---|---|---|---|---|---|---|
2 |
2 |
1 |
3 |
1 |
- |
- |
- |
- |
- |
- |
- |
1 |
1 |
1 |
- | |
Crystal Burst I, Heavy Crystal I |
- | |||||||||||||||
- Layout B - Carnelian  |
- 8 - |
16 |
0 |
0 |
|
|||||||||||
|---|---|---|---|---|---|---|---|---|---|---|---|---|---|---|---|---|
2 |
2 |
1 |
1 |
1 |
- |
- |
- |
- |
1 |
1 |
- |
1 |
1 |
1 |
- | |
- |
- | |||||||||||||||