(Updated Mantis and Slug Cruisers.) Tags: Visual edit apiedit |
|||
| (23 intermediate revisions by 9 users not shown) | |||
| Line 1: | Line 1: | ||
{{SeeAlso|[[Ships]]|[[Systems]]|[[Weapons]]|[[Drones]]|[[Augmentations]]|[[Random Events|Events]]|[[Sectors]]|[[Resources]]}} |
{{SeeAlso|[[Ships]]|[[Systems]]|[[Weapons]]|[[Drones]]|[[Augmentations]]|[[Random Events|Events]]|[[Sectors]]|[[Resources]]}} |
||
| − | The universe of FTL is inhabited by friendly and |
+ | The universe of FTL is inhabited by friendly and enemy ships. These ships come in a variety of layouts, and can be equipped with various [[Systems|systems and subsystems]], [[weapons]], [[drones]], and [[augmentations]]. |
| − | Each ship can carry a maximum of eight [[Crew members|crew members]] of various [[Races/Crew Members|races]], |
+ | Each player ship can carry a maximum of eight [[Crew members|crew members]] of various [[Races/Crew Members|races]], with an initial crew of between one and four members. Each ship starts with varying systems, weapons, power levels, missile ammunition, and drone parts. |
| − | |||
| − | ==Reactor== |
||
| − | Each ship powers its [[systems]], [[weapons]], and [[drones]] through a reactor. The reactor contains a finite number of discrete Energy Bars that can be allocated, and [[Scrap|scrap]] can be used to upgrade the reactor to a maximum of 25 Energy Bars. Strategic use of [[Zoltan]] crew members can provide additional power (1 power per Zoltan), and the [[Battery|Battery Backup]] Subsystem can provide an additional 4 bars of power for 30 seconds (when upgraded), this results in a maximum of 37 Energy Bars. |
||
==Playable Ships== |
==Playable Ships== |
||
| Line 17: | Line 14: | ||
*[[The Mantis Cruiser]] |
*[[The Mantis Cruiser]] |
||
*[[The Slug Cruiser]] |
*[[The Slug Cruiser]] |
||
| − | *[[ |
+ | *[[The Rock Cruiser]] |
| − | *[[ |
+ | *[[The Stealth Cruiser]] |
| − | *[[ |
+ | *[[The Lanius Cruiser]] |
| − | *[[ |
+ | *[[The Crystal Cruiser]] |
| + | |||
| + | ==Enemy Ship General Info== |
||
| + | Enemy ships can have [[Systems]] that exceed 8, which is the limit for players. Most commonly, this is seen late game with ships having been seen with 10 in [[Shields]] or [[Weapons]]. Typically, it's the larger more powerful ships that will go beyond 8 limit. No other system exceeds the 8 limit, though it should be noted that the Rebel Flagship uses special versions of [[Drones]] that cost less energy, giving it the ability to use what seems to be more than 8 in [[Drone Control]]. |
||
| + | |||
| + | Pirate ships can have a few differences from their counterparts. In addition to the paint job, a few exceptions allow some ships will have different layouts and new [[Systems]] installed. In addition, Pirates will always have the same amount of crew but of various [[races]] (excluding [[Crystal]], though [[Lanius]] Pirates may appear in the [[Sector#Abandoned Sector|Abandoned Sector]]). |
||
| + | |||
| + | Enemy ships usually have about 10 [[Missiles]] and 4 [[Drones]] stocked, but this can vary. |
||
| + | |||
| + | ==Enemy Ships== |
||
| + | *[[Crystal Ships]] |
||
| + | *[[Engi Ships]] |
||
| + | *[[Federation Ships]] |
||
| + | *[[Lanius Ships]] |
||
| + | *[[Mantis Ships]] |
||
| + | *[[Rebel Ships]] |
||
| + | *[[AI-Controlled Rebel Ships]] |
||
| + | *[[Rock Ships]] |
||
| + | *[[Slug Ships]] |
||
| + | *[[Zoltan Ships]] |
||
| + | *[[The Rebel Flagship]] |
||
| + | |||
| + | ==Reactor== |
||
| + | Each ship powers its [[systems]], [[weapons]], and [[drones]] using energy from the ship's reactor. Enemy ships always have exactly enough reactor power to fully power their ship, except in ion storms where this power is halved. |
||
| + | |||
| + | Player ships start with varying amounts of reactor power. [[Scrap]] can be used to upgrade the reactor to a maximum of 25 power bars. Each [[Zoltan]] crew provides one additional power bar to the room they occupy, and the [[Battery|Backup battery]] can provide an additional 4 bars of power for 30 seconds (when upgraded). This allows the player to have a maximum of 37 power available. |
||
==Layouts== |
==Layouts== |
||
| Line 27: | Line 49: | ||
* Layout A - You start with Kestrel Cruiser Layout A. Other Layout A's (Other Ships) can be earned via beating the game on any difficulty with the previous ship. The order in which you unlock is identified by an arrow with a V. See screenshot for example. You can also earn other ships by completing their respective quest. |
* Layout A - You start with Kestrel Cruiser Layout A. Other Layout A's (Other Ships) can be earned via beating the game on any difficulty with the previous ship. The order in which you unlock is identified by an arrow with a V. See screenshot for example. You can also earn other ships by completing their respective quest. |
||
* Layout B - earn 2 of the 3 ship related Achievements to unlock |
* Layout B - earn 2 of the 3 ship related Achievements to unlock |
||
| − | * Layout C - reach sector 8 |
+ | * Layout C - reach sector 8 with Layout B and Advanced Mode enabled to unlock |
The Lanius and Crystal cruiser do not have a 'C' layout. |
The Lanius and Crystal cruiser do not have a 'C' layout. |
||
| + | =='''Ship Comparisons'''== |
||
| − | ==The Kestrel Cruiser== |
||
| + | It's possible to calculate the [[Ship Scrap Comparison|total scrap value]] of a ship's starting equipment, although this has little practical use. |
||
| − | {{:The_Kestrel_Cruiser}} |
||
| − | ==The Engi Cruiser== |
||
| − | {{:The_Engi_Cruiser}} |
||
| − | |||
| − | ==The Federation Cruiser== |
||
| − | {{:The_Federation_Cruiser}} |
||
| − | |||
| − | ==The Zoltan Cruiser== |
||
| − | {{:The_Zoltan_Cruiser}} |
||
| − | |||
| − | ==The Mantis Cruiser== |
||
| − | {{:The_Mantis_Cruiser}} |
||
| − | |||
| − | ==The Slug Cruiser== |
||
| − | {{:The_Slug_Cruiser}} |
||
| − | |||
| − | ==Rock Cruiser== |
||
| − | ''"Prove yourself to the rockmen to earn this powerful cruiser."'' |
||
| − | ==='''Layout A'''=== |
||
| − | ''"Similar to its designers, this super dense behemoth uses brute force to overwhelm its foes."'' |
||
| − | [[File:RockASystems.png|thumb|400px]] |
||
| − | *Default name: Bulwark |
||
| − | *Starting Crew: 3 [[Rock]]men |
||
| − | *Starting Reactor: 8 |
||
| − | *Starting Systems: |
||
| − | **[[File:PilotingSymbol.png]] [[Piloting]] (1) |
||
| − | **[[File:DoorSystemSymbol.png]] [[Doors]] (1) |
||
| − | **[[File:SensorsSymbol.png]] [[Sensors]] (1) |
||
| − | **[[File:MedbaySymbol.png]] [[Medbay]] (1) |
||
| − | **[[File:OxygenSymbol.png]] [[Oxygen]] (1) |
||
| − | **[[File:ShieldsSymbol.png]] [[Shields]] (2) |
||
| − | **[[File:EnginesSymbol.png]] [[Engines]] (2) |
||
| − | **[[File:WeaponControlSymbol.png]] [[Weapons]] (3) |
||
| − | *Starting Weapons: |
||
| − | **[[Weapons#Artemis_Missiles|Artemis Missiles]] |
||
| − | **[[Weapons#Hull_Missile|Hull Missile]] |
||
| − | *Starting Augmentation: |
||
| − | **[[Augmentations#Rock_Plating|Rock Plating]] |
||
| − | *Starting Resources: |
||
| − | **16 [[Fuel]] |
||
| − | **28 [[Missiles]] |
||
| − | **0 [[Drone parts]] |
||
| − | *Slots: 4 Weapon, 2 Drone (requires system) |
||
| − | |||
| − | '''Unlock'''<br /> |
||
| − | See the [[Rock war vessel encounter]].<br /> |
||
| − | Alternatively, defeat [[The Rebel Flagship]] with the Slug cruiser. |
||
| − | |||
| − | ==='''Layout B'''=== |
||
| − | ''"With no airlocks, this ship must rely entirely on its rock crew to put out fires."'' |
||
| − | [[File:RockBSystems.png|thumb|400px]] |
||
| − | *Default name: Shivan |
||
| − | *Starting Crew: 4 [[Rockmen]] |
||
| − | *Starting Reactor: 8 |
||
| − | *Starting Systems: |
||
| − | **[[File:PilotingSymbol.png]] [[Piloting]] (1) |
||
| − | **[[File:SensorsSymbol.png]] [[Sensors]] (1) |
||
| − | **[[File:MedbaySymbol.png]] [[Medbay]] (1) |
||
| − | **[[File:OxygenSymbol.png]] [[Oxygen]] (2) |
||
| − | **[[File:ShieldsSymbol.png]] [[Shields]] (2) |
||
| − | **[[File:EnginesSymbol.png]] [[Engines]] (2) |
||
| − | **[[File:WeaponControlSymbol.png]] [[Weapons]] (3) |
||
| − | *Starting Weapons: |
||
| − | **[[Weapons#Heavy_Pierce_Mark_I|Heavy Pierce Laser Mk. I]] |
||
| − | **[[Weapons#Fire_Bomb|Fire Bomb]] |
||
| − | *Starting Augmentation: |
||
| − | **[[Augmentations#Rock_Plating|Rock Plating]] |
||
| − | *Starting Resources: |
||
| − | ** 16 [[Fuel]] |
||
| − | ** 18 [[Missiles]] |
||
| − | ** 0 [[Drone parts]] |
||
| − | *Slots: 4 Weapon, 2 Drone (requires system) |
||
| − | |||
| − | The Shivan starts without a [[Doors|door system]], requiring 60 scrap to install. It is the only ship which does not have airlocks, preventing any sections from being vented to space except via a hull breach. If in advanced edition, Lanius crew can be used to suck air out of rooms, even if they are not in that room, also the Fire Suppression augment works wonders as it helps put out fires. |
||
| − | |||
| − | '''Unlock'''<br /> |
||
| − | Earning two of the three Rock Cruiser achievements will unlock Layout B. |
||
| − | |||
| − | '''Trivia'''<br /> |
||
| − | The name "Shivan" combined with the color scheme of Layout B is a reference to an alien race of the same name in the game Descent: Freespace. |
||
| − | |||
| − | ==='''Layout C'''=== |
||
| − | ''"Contact has been made with the Crystalline race and this cruiser was offered to the Federation as part of diplomatic discussions between the sister species."'' |
||
| − | [[File:RockCSystems.png|thumb|400px]] |
||
| − | *Default name: Tektite |
||
| − | *Starting Crew: 2 [[Rockmen]], 1 [[Crystal]] |
||
| − | *Starting Reactor: 8 |
||
| − | *Starting Systems: |
||
| − | **[[File:PilotingSymbol.png]] [[Piloting]] (1) |
||
| − | **[[File:DoorSystemSymbol.png]] [[Doors]] (1) |
||
| − | **[[File:SensorsSymbol.png]] [[Sensors]] (1) |
||
| − | **[[File:CloneBaySymbol.png]] [[Clone Bay]] (1) |
||
| − | **[[File:OxygenSymbol.png]] [[Oxygen]] (1) |
||
| − | **[[File:ShieldsSymbol.png]] [[Shields]] (2) |
||
| − | **[[File:EnginesSymbol.png]] [[Engines]] (2) |
||
| − | **[[File:WeaponControlSymbol.png]] [[Weapons]] (3) |
||
| − | *Starting Weapons: |
||
| − | **[[Weapons#Swarm_Missiles|Swarm Missiles]] |
||
| − | **[[Weapons#Heavy Crystal Mark I|Heavy Crystal Mark I]] |
||
| − | *Starting Augmentation: |
||
| − | **[[Augmentations#Rock_Plating|Rock Plating]] |
||
| − | *Starting Resources: |
||
| − | ** 16 [[Fuel]] |
||
| − | ** 15 [[Missiles]] |
||
| − | ** 0 [[Drone parts]] |
||
| − | * Clone Bay |
||
| − | *Slots: 4 Weapon, 2 Drone (requires system) |
||
| − | |||
| − | '''Unlock'''<br /> |
||
| − | Reaching sector 8 with the Rock Cruiser B with Advanced Mode enabled will unlock layout C |
||
| − | |||
| − | ==='''[[Ship Achievements|Achievements]]'''=== |
||
| − | *[[Is it warm in here?]] - Have your crew kill a burning enemy on their ship while using the Rock Cruiser. |
||
| − | *[[Defense Drones Don't Do D'anything!]] - While using the Rock Cruiser, destroy an enemy ship which has a defense drone deployed using only missiles. |
||
| − | *[[Ancestry]] - Find the secret sector with the Rock Cruiser. |
||
| − | |||
| − | ==Stealth Cruiser== |
||
| − | : ''"This ship is being built near the Engi homeworlds. To unlock it, you'll need to help them, but keep in mind they only trust their own kind."'' |
||
| − | The Stealth Cruisers do not have a [[Shields|Shield system]]. Installing shields requires 125 [[scrap]], and will start with two power bars making one shield layer. |
||
| − | ==='''Layout A'''=== |
||
| − | ''"Constructed for the Federation by the Engi, this ship is designed to use cloaking technology and speed to get behind enemy lines."'' |
||
| − | [[File:StealthASystems.png|thumb|400px]] |
||
| − | *Default name: The Nesasio |
||
| − | *Starting Crew: 3 [[Human]] |
||
| − | *Starting Reactor: 8 |
||
| − | *Starting Systems: |
||
| − | **[[File:PilotingSymbol.png]] [[Piloting]] (1) |
||
| − | **[[File:DoorSystemSymbol.png]] [[Doors]] (1) |
||
| − | **[[File:SensorsSymbol.png]] [[Sensors]] (2) |
||
| − | **[[File:MedbaySymbol.png]] [[Medbay]] (1) |
||
| − | **[[File:OxygenSymbol.png]] [[Oxygen]] (1) |
||
| − | **[[File:EnginesSymbol.png]] [[Engines]] (4) |
||
| − | **[[File:WeaponControlSymbol.png]] [[Weapons]] (2) |
||
| − | **[[File:CloakingSymbol.png]] [[Cloaking]] (1) |
||
| − | *Starting Weapons: |
||
| − | **[[Mini Beam]] |
||
| − | **[[Dual Lasers]] |
||
| − | *Starting Augmentations: |
||
| − | **[[Titanium System Casing]] |
||
| − | **[[Augmentations#Long-Range Scanners|Long-Range Scanners]] |
||
| − | *Starting Resources: |
||
| − | **16 [[Fuel]] |
||
| − | **0 [[Missiles]] |
||
| − | **0 [[Drone parts]] |
||
| − | *Slots: 3 Weapon, 2 Drone (requires system) |
||
| − | |||
| − | '''Unlock'''<br /> |
||
| − | See the [[Engi Fleet Discussion]] [[Random Events|random event]].<br /> |
||
| − | Alternatively, defeat [[The Rebel Flagship]] with the Rock Cruiser. |
||
| − | |||
| − | '''Trivia'''<br /> |
||
| − | Nesasio is the genus for the animal named the Fearful Owl. |
||
| − | |||
| − | ==='''Layout B'''=== |
||
| − | ''"Built like a glass cannon, this ship is hard to handle. If its cloaking can keep it safe long enough to charge its weapon, few cruisers can withstand its might."'' |
||
| − | [[File:StealthBSystems.png|thumb|400px]] |
||
| − | *Default name: DA-SR 12 |
||
| − | *Starting Crew: 2 [[Human]], 1 [[Zoltan]] |
||
| − | *Starting Reactor: 7 |
||
| − | *Starting Systems: |
||
| − | **[[File:PilotingSymbol.png]] [[Piloting]] (1) |
||
| − | **[[File:DoorSystemSymbol.png]] [[Doors]] (1) |
||
| − | **[[File:SensorsSymbol.png]] [[Sensors]] (2) |
||
| − | **[[File:MedbaySymbol.png]] [[Medbay]] (1) |
||
| − | **[[File:OxygenSymbol.png]] [[Oxygen]] (1) |
||
| − | **[[File:EnginesSymbol.png]] [[Engines]] (2) |
||
| − | **[[File:CloakingSymbol.png]] [[Cloaking]] (2) |
||
| − | **[[File:WeaponControlSymbol.png]] [[Weapons]] (4) |
||
| − | *Starting Weapon: |
||
| − | **[[Glaive Beam]] |
||
| − | *Starting Augmentation: |
||
| − | **[[Augmentations#Long-Range Scanners|Long-Range Scanners]] |
||
| − | *Starting Resources: |
||
| − | **16 [[Fuel]] |
||
| − | **0 [[Missiles]] |
||
| − | **0 [[Drone parts]] |
||
| − | *Slots: 3 Weapon, 2 Drone (requires system) |
||
| − | |||
| − | '''Unlock'''<br /> |
||
| − | Earning two of the three Stealth Cruiser achievements will unlock Layout B. |
||
| − | |||
| − | '''Trivia'''<br /> |
||
| − | The name of the Stealth Cruiser Layout B is most likely a reference to the Normandy SR-2 from the video game series Mass Effect, which is an advanced stealth frigate built as a collaborative effort between races and featuring a high-powered beam weapon as its main gun. |
||
| − | |||
| − | ==='''Layout C'''=== |
||
| − | ''"This ship was part of an Engi experiment to make a power efficient version of the Zoltan shield. Unfortunately this required the removal of the Cloaking system."'' |
||
| − | [[File:StealthCSystems.png|thumb|400px]] |
||
| − | * Default name: Simo-H |
||
| − | * Starting Crew: 1 [[Human]], 1 [[Rockman]], 1 [[Slug]] |
||
| − | *Starting Reactor: 7 |
||
| − | *Starting Systems: |
||
| − | **[[File:PilotingSymbol.png]] [[Piloting]] (1) |
||
| − | **[[File:DoorSystemSymbol.png]] [[Doors]] (1) |
||
| − | **[[File:CloneBaySymbol.png]] [[Clone Bay]] (1) |
||
| − | **[[File:OxygenSymbol.png]] [[Oxygen]] (1) |
||
| − | **[[File:EnginesSymbol.png]] [[Engines]] (3) |
||
| − | **[[File:WeaponControlSymbol.png]] [[Weapons]] (2) |
||
| − | **[[File:DroneControlSymbol.png]] [[Drones]] (2) |
||
| − | * Starting Weapons: |
||
| − | ** [[Laser Charger (S)]] |
||
| − | ** [[Mini Beam]] |
||
| − | * Starting Drones: |
||
| − | ** [[Drones#Shield Overcharger +|Shield Overcharger +]] |
||
| − | ** [[Drones#Anti-Drone|Anti-Drone]] |
||
| − | * Starting Augmentation: |
||
| − | ** [[Augmentations#Long-Range Scanners|Long-Range Scanners]] |
||
| − | * Starting Resources: |
||
| − | ** 16 [[Fuel]] |
||
| − | ** 0 [[Missiles]] |
||
| − | ** 16 [[Drone Part]] |
||
| − | * Slots: 3 Weapon, 3 Drone |
||
| − | |||
| − | '''Unlock'''<br /> |
||
| − | Reaching sector 8 with the Stealth Cruiser B and Advanced Mode enabled will unlock layout C |
||
| − | |||
| − | '''Trivia'''<br /> |
||
| − | Simo-H is likely a reference to Simo Häyhä, a Finnish sniper with the highest confirmed kills in any major war. |
||
| − | |||
| − | ==='''[[Ship Achievements|Achievements]]'''=== |
||
| − | *[[Bird of Prey]] - Destroy a ship at full health during a single cloak in the Stealth Cruiser. |
||
| − | *[[Phase Shift]] - In the Stealth Cruiser, avoid 9 points of damage during a single cloak. |
||
| − | *[[Tactical Approach]] - In the Stealth Cruiser, get to sector 8 without jumping to a beacon with an environmental danger. |
||
| − | |||
| − | ==Lanius Cruiser== |
||
| − | ''"Entice the Lanius with a valuable fleet, unlock 4 ships in addition to the Kestrel Cruiser to unlock this ship."'' |
||
| − | |||
| − | ==='''Layout A'''=== |
||
| − | ''"The sharp knife-like structures make Lanius ships a sight to behold. This cruiser was adapted to support the other races of the Federation."'' |
||
| − | [[File:LaniusASystems.png|thumb|400px]] |
||
| − | * Default name: Kruos |
||
| − | * Starting Crew: 1 [[Human]], 2 [[Lanius]] |
||
| − | *Starting Reactor: 8 |
||
| − | *Starting Systems: |
||
| − | **[[File:PilotingSymbol.png]] [[Piloting]] (1) |
||
| − | **[[File:DoorSystemSymbol.png]] [[Doors]] (1) |
||
| − | **[[File:SensorsSymbol.png]] [[Sensors]] (1) |
||
| − | **[[File:CloneBaySymbol.png]] [[Clone Bay]] (1) |
||
| − | **[[File:OxygenSymbol.png]] [[Oxygen]] (1) |
||
| − | **[[File:ShieldsSymbol.png]] [[Shields]] (2) |
||
| − | **[[File:EnginesSymbol.png]] [[Engines]] (1) |
||
| − | **[[File:WeaponControlSymbol.png]] [[Weapons]] (3) |
||
| − | **[[File:HackingSymbol.png]] [[Hacking]] (1) |
||
| − | * Starting Weapons: |
||
| − | ** [[Weapons#Chain_Burst_Laser|Chain Burst Laser]] |
||
| − | ** [[Weapons#Ion_Stunner|Ion Stunner]] |
||
| − | * Starting Augmentation: |
||
| − | ** [[Augment#Emergency Respirators|Emergency Respirators]] |
||
| − | * Starting Resources: |
||
| − | ** 16 [[Fuel]] |
||
| − | ** 3 [[Missiles]] |
||
| − | ** 9 [[Drone parts]] |
||
| − | * Slots: 4 Weapon, 2 Drone (requires system) |
||
| − | |||
| − | '''Unlock'''<br /> |
||
| − | Unlock 4 ships (Excluding The Kestrel) to unlock this ship.<br /> |
||
| − | Alternatively, defeat [[The Rebel Flagship]] with the Stealth Cruiser. |
||
| − | |||
| − | ==='''Layout B'''=== |
||
| − | ''"The racial ability of the Lanius make them fearsome combatants in small quarters. Combine that with a Mind Control system and this ship is a force to be reckoned with."'' |
||
| − | [[File:LaniusBSystems.png|thumb|400px]] |
||
| − | * Default name: The Shrike |
||
| − | * Starting Crew: 1 [[Engi]], 2 [[Lanius]] |
||
| − | *Starting Reactor: 8 |
||
| − | *Starting Systems: |
||
| − | **[[File:PilotingSymbol.png]] [[Piloting]] (1) |
||
| − | **[[File:DoorSystemSymbol.png]] [[Doors]] (1) |
||
| − | **[[File:CloneBaySymbol.png]] [[Clone Bay]] (1) |
||
| − | **[[File:OxygenSymbol.png]] [[Oxygen]] (1) |
||
| − | **[[File:ShieldsSymbol.png]] [[Shields]] (2) |
||
| − | **[[File:EnginesSymbol.png]] [[Engines]] (1) |
||
| − | **[[File:CrewTeleporterSymbol.png]] [[Teleporter]] (1) |
||
| − | **[[File:WeaponControlSymbol.png]] [[Weapons]] (1) |
||
| − | **[[File:MindControlSymbol.png]] [[Mind Control]] (1) |
||
| − | * Starting Weapon: |
||
| − | ** [[Weapons#Adv. Flak Gun|Advanced Flak]] |
||
| − | * Starting Augmentation: |
||
| − | ** [[Augment#Emergency Respirators|Emergency Respirators]] |
||
| − | * Starting Resources: |
||
| − | ** 16 [[Fuel]] |
||
| − | ** 0 [[Missiles]] |
||
| − | ** 0 [[Drone parts]] |
||
| − | * Slots: 4 Weapon, 2 Drone (requires system) |
||
| − | |||
| − | '''Unlock'''<br /> |
||
| − | Earning two of the three Lanius Cruiser achievements will unlock Layout B. |
||
| − | |||
| − | '''Trivia'''<br /> |
||
| − | Its name is a reference the real-life bird known for impaling its prey on thorns, the which is also the namesake of the Lanius themselves.<br /> |
||
| − | The Shrike was also the name of a fearsome Metal Creature renowned for suddenly appearing slaying its victims and vanishing again in the science fiction novel ''Hyperion ''by Dan Simmons. Shrike is also a name of nearly indestructible killer robot that uses knife-like claws in book Mortal Engines by Philip Reeve. |
||
| − | |||
| − | In the game files, there is another 3rd achievement, titled "They Should Really Have Spacesuits". It involves having 10 enemy crew suffocate to death before sector 5. |
||
| − | |||
| − | ==='''[[Ship Achievements|Achievements]]'''=== |
||
| − | * [[Advanced Mastery]] - Have Hacking, Mind Control and the Battery active at once. |
||
| − | * [[Scrap Hoarder]] - Have at least 600 scrap in your ship storage. |
||
| − | * [[Loss of Cabin Pressure]] - Get to sector 8 without your ship's net oxygen levels exceeding 20 percent (starts after the first jump). |
||
| − | |||
| − | ==Crystal Cruiser== |
||
| − | ''"Travel to an unknown sector of the galaxy to find this powerful vessel."'' |
||
| − | ==='''Layout A'''=== |
||
| − | ''"This powerful vessel is powered by the secret technologies of the lost Crystalline Beings."'' |
||
| − | [[File:CrystalASystems.png|thumb|400px]] |
||
| − | *Default name: Bravais |
||
| − | *Starting Crew: 2 [[Human]], 2 [[Crystal]] |
||
| − | *Starting Reactor: 8 |
||
| − | *Starting Systems: |
||
| − | **[[File:PilotingSymbol.png]] [[Piloting]] (1) |
||
| − | **[[File:DoorSystemSymbol.png]] [[Doors]] (1) |
||
| − | **[[File:SensorsSymbol.png]] [[Sensors]] (1) |
||
| − | **[[File:MedbaySymbol.png]] [[Medbay]] (1) |
||
| − | **[[File:OxygenSymbol.png]] [[Oxygen]] (1) |
||
| − | **[[File:ShieldsSymbol.png]] [[Shields]] (2) |
||
| − | **[[File:EnginesSymbol.png]] [[Engines]] (2) |
||
| − | **[[File:WeaponControlSymbol.png]] [[Weapons]] (3) |
||
| − | *Starting Weapons: |
||
| − | **[[Weapons#Crystal_Burst_Mark_I|Crystal Burst Mark I]] |
||
| − | **[[Weapons#Heavy_Crystal_Mark_I|Heavy Crystal Mark I]] |
||
| − | *Starting Augmentation: |
||
| − | **[[Augmentations#Crystal_Vengeance|Crystal Vengeance]] |
||
| − | *Starting Resources: |
||
| − | **16 [[Fuel]] |
||
| − | **0 [[Missiles]] |
||
| − | **0 [[Drone parts]] |
||
| − | *Slots: 4 Weapon, 2 Drone (requires system) |
||
| − | |||
| − | '''Unlock'''<br /> |
||
| − | See [[Ship Achievements/Ancestry]] and its linked pages for directions on unlocking the Crystal Cruiser.<br /> |
||
| − | Alternatively, beat the Flagship with layout A and B of every ship (excluding The Lanius Cruiser) |
||
| − | |||
| − | ==='''Layout B'''=== |
||
| − | ''"Their unique racial ability makes the Crystal beings very adept at ship boarding. This ship was designed for such raiding parties."'' |
||
| − | [[File:CrystalBSystems.png|thumb|400px]] |
||
| − | *Default name: Carnelian |
||
| − | *Starting Crew: 3 [[Crystal]] |
||
| − | *Starting Reactor: 8 |
||
| − | *Starting Systems: |
||
| − | **[[File:PilotingSymbol.png]] [[Piloting]] (1) |
||
| − | **[[File:DoorSystemSymbol.png]] [[Doors]] (1) |
||
| − | **[[File:SensorsSymbol.png]] [[Sensors]] (1) |
||
| − | **[[File:MedbaySymbol.png]] [[Medbay]] (1) |
||
| − | **[[File:OxygenSymbol.png]] [[Oxygen]] (1) |
||
| − | **[[File:ShieldsSymbol.png]] [[Shields]] (2) |
||
| − | **[[File:EnginesSymbol.png]] [[Engines]] (2) |
||
| − | **[[File:CrewTeleporterSymbol.png]] [[Teleporter]] (1) |
||
| − | **[[File:CloakingSymbol.png]] [[Cloaking]] (1) |
||
| − | **[[File:WeaponControlSymbol.png]] [[Weapons]] (1) |
||
| − | *Starting Augmentation: |
||
| − | **[[Augmentations#Crystal_Vengeance|Crystal Vengeance]] |
||
| − | *Starting Resources: |
||
| − | **16 [[Fuel]] |
||
| − | **0 [[Missiles]] |
||
| − | **0 [[Drone parts]] |
||
| − | *Slots: 4 Weapon, 2 Drone (requires system) |
||
| − | |||
| − | One of the few ships with a four man crew teleporter. |
||
| − | |||
| − | '''Unlock'''<br /> |
||
| − | Earning two of the three Crystal Cruiser achievements will unlock Layout B. |
||
| − | |||
| − | ==='''[[Ship Achievements|Achievements]]'''=== |
||
| − | *[[Sweet Revenge]] - Destroy an enemy ship with a shard from the Crystal Vengeance augment. |
||
| − | *[[No Escape]] - While using the Crystal Cruiser trap 4 enemy crew inside a single room using the crystal being power or Lockdown Bomb. |
||
| − | *[[Clash of the Titans]] - Destroy 15 Rock ships using the Crystal Cruiser. |
||
| − | |||
| − | =='''Ship Comparisons'''== |
||
{{:Ship Comparison}} |
{{:Ship Comparison}} |
||
[[Category:Guides]] |
[[Category:Guides]] |
||
| + | [[Category:Ships| ]] |
||
Revision as of 13:14, 20 September 2019
Template:SeeAlso
The universe of FTL is inhabited by friendly and enemy ships. These ships come in a variety of layouts, and can be equipped with various systems and subsystems, weapons, drones, and augmentations.
Each player ship can carry a maximum of eight crew members of various races, with an initial crew of between one and four members. Each ship starts with varying systems, weapons, power levels, missile ammunition, and drone parts.
Playable Ships
See Also: Ship Strategies and Ship Comparison.
There are ten ship classes available in FTL:
- The Kestrel Cruiser
- The Engi Cruiser
- The Federation Cruiser
- The Zoltan Cruiser
- The Mantis Cruiser
- The Slug Cruiser
- The Rock Cruiser
- The Stealth Cruiser
- The Lanius Cruiser
- The Crystal Cruiser
Enemy Ship General Info
Enemy ships can have Systems that exceed 8, which is the limit for players. Most commonly, this is seen late game with ships having been seen with 10 in Shields or Weapons. Typically, it's the larger more powerful ships that will go beyond 8 limit. No other system exceeds the 8 limit, though it should be noted that the Rebel Flagship uses special versions of Drones that cost less energy, giving it the ability to use what seems to be more than 8 in Drone Control.
Pirate ships can have a few differences from their counterparts. In addition to the paint job, a few exceptions allow some ships will have different layouts and new Systems installed. In addition, Pirates will always have the same amount of crew but of various races (excluding Crystal, though Lanius Pirates may appear in the Abandoned Sector).
Enemy ships usually have about 10 Missiles and 4 Drones stocked, but this can vary.
Enemy Ships
- Crystal Ships
- Engi Ships
- Federation Ships
- Lanius Ships
- Mantis Ships
- Rebel Ships
- AI-Controlled Rebel Ships
- Rock Ships
- Slug Ships
- Zoltan Ships
- The Rebel Flagship
Reactor
Each ship powers its systems, weapons, and drones using energy from the ship's reactor. Enemy ships always have exactly enough reactor power to fully power their ship, except in ion storms where this power is halved.
Player ships start with varying amounts of reactor power. Scrap can be used to upgrade the reactor to a maximum of 25 power bars. Each Zoltan crew provides one additional power bar to the room they occupy, and the Backup battery can provide an additional 4 bars of power for 30 seconds (when upgraded). This allows the player to have a maximum of 37 power available.
Layouts
Each ship unlocks with only its Layout A available. You need to complete predefined objectives to unlock additional layouts:
Layout of the PC Ship list/Unlock Progress.
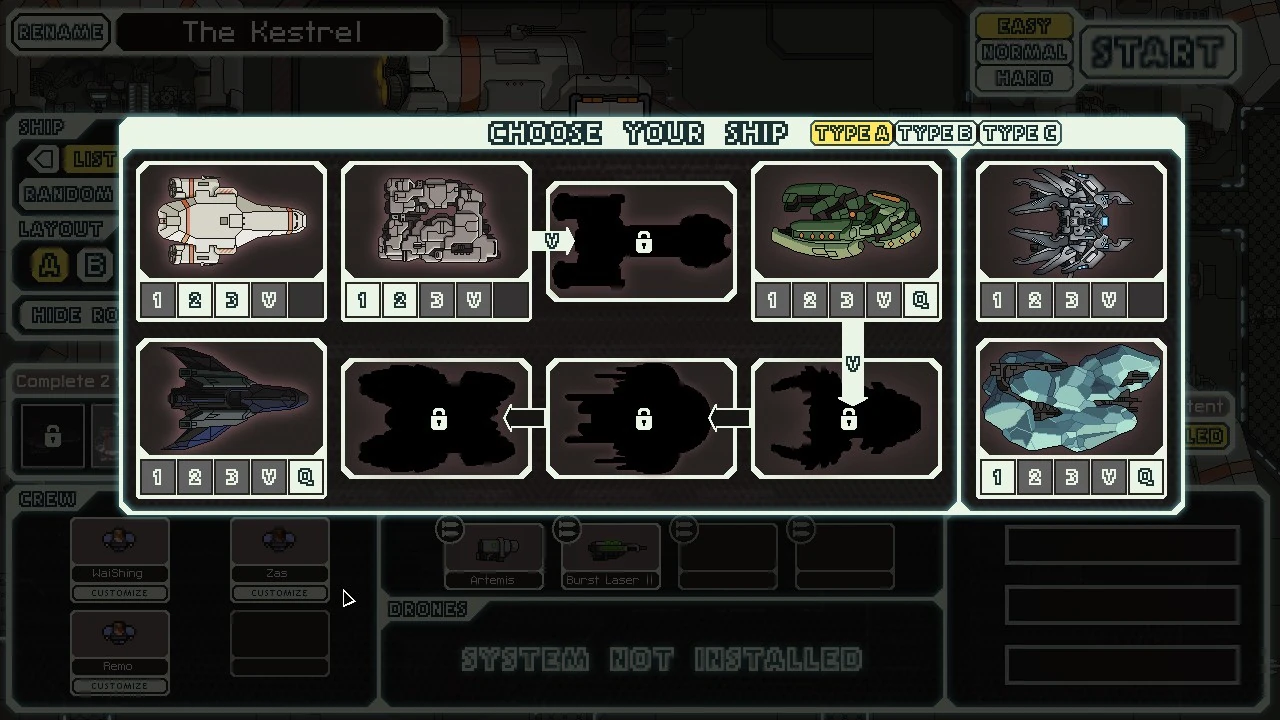
- Layout A - You start with Kestrel Cruiser Layout A. Other Layout A's (Other Ships) can be earned via beating the game on any difficulty with the previous ship. The order in which you unlock is identified by an arrow with a V. See screenshot for example. You can also earn other ships by completing their respective quest.
- Layout B - earn 2 of the 3 ship related Achievements to unlock
- Layout C - reach sector 8 with Layout B and Advanced Mode enabled to unlock
The Lanius and Crystal cruiser do not have a 'C' layout.
Ship Comparisons
It's possible to calculate the total scrap value of a ship's starting equipment, although this has little practical use.
Click on the button below to reveal the ship data, then click on different ships to compare them.
- Layout A - The Kestrel  |
- 8 - |
16 |
8 |
2 |
|
|||||||||||
|---|---|---|---|---|---|---|---|---|---|---|---|---|---|---|---|---|
2 |
2 |
1 |
3 |
1 |
- |
- |
- |
- |
- |
- |
- |
1 |
1 |
1 |
- | |
Artemis, Burst Laser II |
- | |||||||||||||||
- Layout B - Red-Tail  |
- 8 - |
16 |
5 |
0 |
|
|||||||||||
|---|---|---|---|---|---|---|---|---|---|---|---|---|---|---|---|---|
2 |
2 |
1 |
4 |
1 |
- |
- |
- |
- |
- |
- |
- |
1 |
1 |
1 |
- | |
Basic Laser, Basic Laser Basic Laser, Basic Laser |
- | |||||||||||||||
- Layout C - The Swallow  |
- 7 - |
16 |
4 |
3 |
||||||||||||
|---|---|---|---|---|---|---|---|---|---|---|---|---|---|---|---|---|
2 |
2 |
1 |
2 |
- |
1 |
- |
- |
- |
- |
- |
- |
1 |
2 |
1 |
- | |
Dual Lasers, Ion Stunner |
- | |||||||||||||||
- Layout A - The Torus 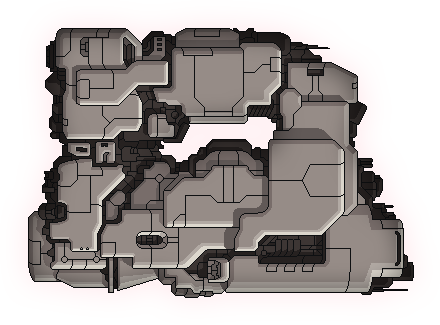 |
- 10 - |
16 |
0 |
15 |
|
|||||||||||
|---|---|---|---|---|---|---|---|---|---|---|---|---|---|---|---|---|
2 |
2 |
1 |
3 |
1 |
- |
3 |
- |
- |
- |
- |
- |
1 |
1 |
1 |
- | |
Ion Blast II |
Combat I | |||||||||||||||
- Layout B - The Vortex 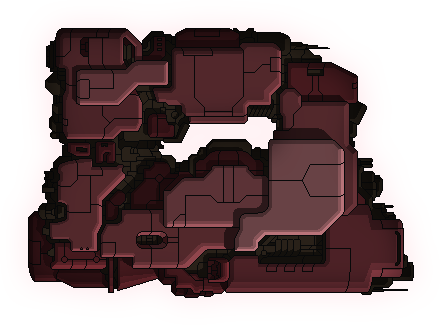 |
- 9 - |
16 |
0 |
6 |
|
|||||||||||
|---|---|---|---|---|---|---|---|---|---|---|---|---|---|---|---|---|
2 |
1 |
1 |
3 |
1 |
- |
3 |
- |
- |
- |
- |
- |
1 |
- |
1 |
- | |
Heavy Ion, Heavy Laser I |
Anti-Personnel, System Repair System Repair | |||||||||||||||
- Layout C - Tetragon  |
- 9 - |
16 |
0 |
25 |
|
|||||||||||
|---|---|---|---|---|---|---|---|---|---|---|---|---|---|---|---|---|
2 |
2 |
1 |
1 |
- |
1 |
2 |
1 |
- |
- |
- |
- |
1 |
1 |
1 |
- | |
Dual Lasers |
Beam I | |||||||||||||||
Cruiser - Layout A - The Osprey  |
- 8 - |
16 |
5 |
2 |
|
|||||||||||
|---|---|---|---|---|---|---|---|---|---|---|---|---|---|---|---|---|
2 |
2 |
1 |
2 |
1 |
- |
- |
- |
- |
- |
- |
L1 |
1 |
1 |
1 |
- | |
Burst Laser II |
- | |||||||||||||||
Cruiser - Layout B - Nisos 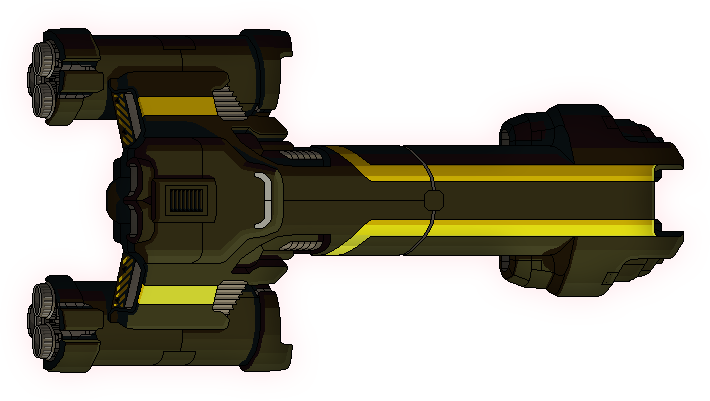 |
- 9 - |
16 |
9 |
0 |
|
|||||||||||
|---|---|---|---|---|---|---|---|---|---|---|---|---|---|---|---|---|
2 |
2 |
1 |
2 |
1 |
- |
- |
- |
- |
- |
- |
L2 |
1 |
1 |
1 |
- | |
Dual Lasers, Leto |
- | |||||||||||||||
Cruiser - Layout C - The Fregatidae 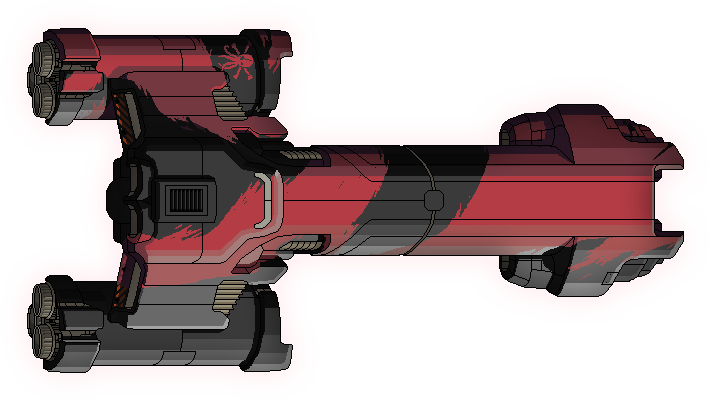 |
- 7 - |
16 |
5 |
0 |
|
|||||||||||
|---|---|---|---|---|---|---|---|---|---|---|---|---|---|---|---|---|
2 |
2 |
1 |
1 |
- |
1 |
- |
- |
- |
1 |
- |
F1 |
1 |
1 |
1 |
- | |
- |
- | |||||||||||||||
- Layout A - The Adjudicator  |
- 5 - |
16 |
12 |
2 |
|
|||||||||||
|---|---|---|---|---|---|---|---|---|---|---|---|---|---|---|---|---|
2 |
1 |
1 |
3 |
1 |
- |
- |
- |
- |
- |
- |
- |
1 |
1 |
2 |
- | |
Halberd Beam, Leto |
- | |||||||||||||||
- Layout B - Noether  |
- 5 - |
16 |
0 |
2 |
|
|||||||||||
|---|---|---|---|---|---|---|---|---|---|---|---|---|---|---|---|---|
1 |
2 |
1 |
4 |
1 |
- |
- |
- |
- |
- |
- |
- |
1 |
1 |
1 |
- | |
Ion Blast, Ion Blast Pike Beam |
- | |||||||||||||||
- Layout C - Cerenkov 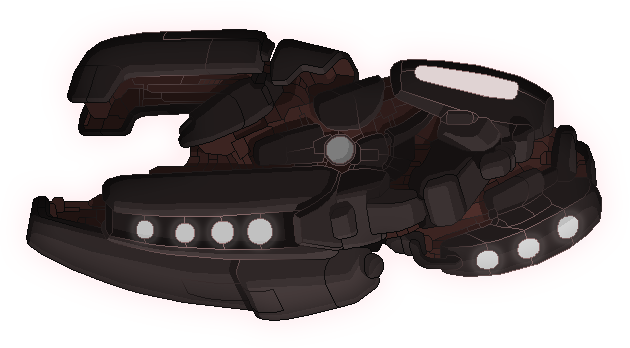 |
- 2 - |
16 |
2 |
15 |
|
|||||||||||
|---|---|---|---|---|---|---|---|---|---|---|---|---|---|---|---|---|
2 |
2 |
1 |
2 |
- |
1 |
3 |
- |
- |
- |
- |
- |
1 |
1 |
1 |
2 | |
Ion Charge |
Beam I | |||||||||||||||
- Layout A - The Gila Monster 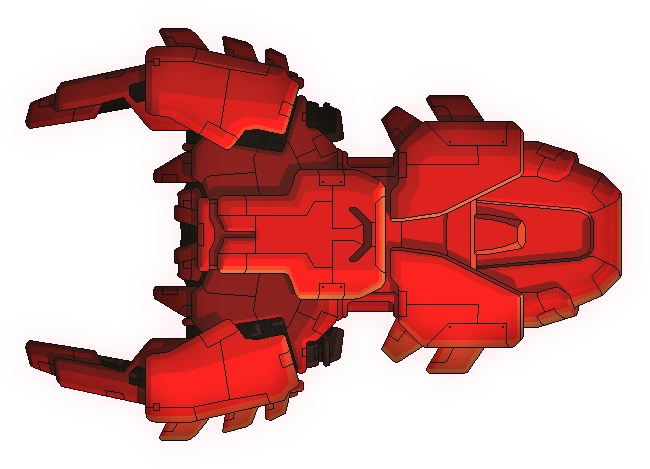 |
- 7 - |
16 |
16 |
0 |
|
|||||||||||
|---|---|---|---|---|---|---|---|---|---|---|---|---|---|---|---|---|
2 |
2 |
1 |
1 |
1 |
- |
- |
- |
- |
1 |
- |
- |
1 |
- |
1 |
- | |
Small Bomb, Basic Laser |
- | |||||||||||||||
- Layout B - The Basilisk  |
- 11 - |
16 |
0 |
15 |
|
|||||||||||
|---|---|---|---|---|---|---|---|---|---|---|---|---|---|---|---|---|
4 |
1 |
1 |
1 |
1 |
- |
3 |
- |
- |
1 |
- |
- |
1 |
1 |
1 |
- | |
- |
Boarding, Defense I | |||||||||||||||
- Layout C - The Theseus 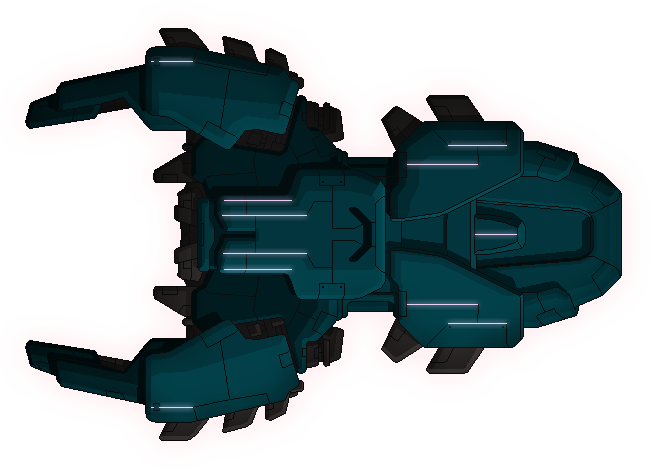 |
- 8 - |
16 |
20 |
0 |
|
|||||||||||
|---|---|---|---|---|---|---|---|---|---|---|---|---|---|---|---|---|
2 |
2 |
1 |
2 |
- |
2 |
- |
- |
- |
1 |
- |
- |
1 |
1 |
1 |
- | |
Lockdown Bomb, Stun Bomb |
- | |||||||||||||||
- Layout A - Man of War 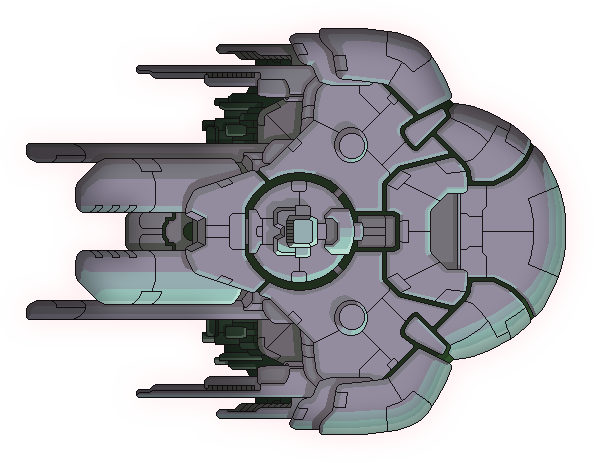 |
- 8 - |
16 |
15 |
0 |
|
|||||||||||
|---|---|---|---|---|---|---|---|---|---|---|---|---|---|---|---|---|
2 |
2 |
1 |
3 |
1 |
- |
- |
- |
- |
- |
- |
- |
1 |
- |
2 |
- | |
Anti-Bio Beam, Breach Bomb I Dual Lasers |
- | |||||||||||||||
- Layout B - The Stormwalker 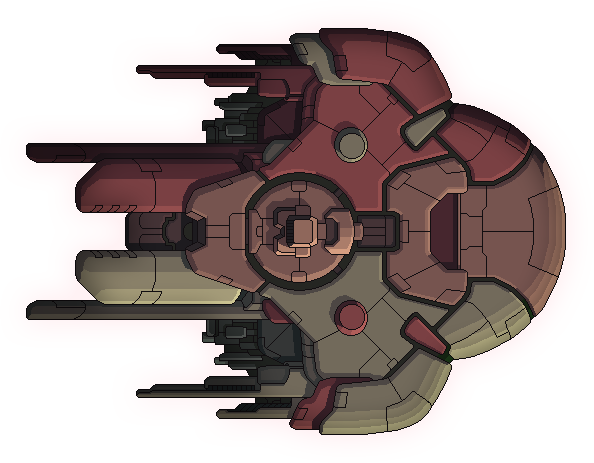 |
- 7 - |
16 |
25 |
0 |
|
|||||||||||
|---|---|---|---|---|---|---|---|---|---|---|---|---|---|---|---|---|
2 |
2 |
1 |
2 |
- |
- |
- |
- |
- |
1 |
- |
- |
1 |
- |
2 |
- | |
Healing Burst, Artemis |
- | |||||||||||||||
- Layout C - Ariolimax  |
- 9 - |
16 |
1 |
15 |
|
|||||||||||
|---|---|---|---|---|---|---|---|---|---|---|---|---|---|---|---|---|
2 |
2 |
1 |
2 |
- |
1 |
- |
1 |
1 |
- |
- |
- |
1 |
- |
2 |
- | |
Chain Laser |
- | |||||||||||||||
- Layout A - Bulwark 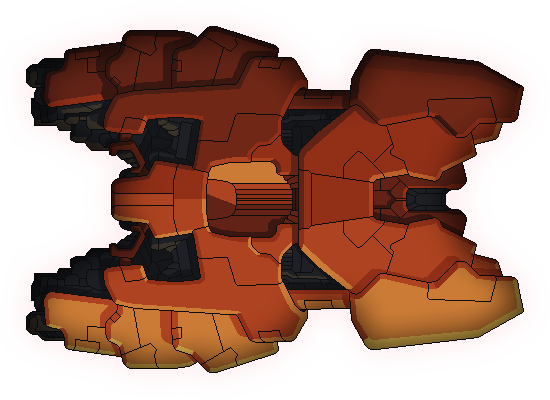 |
- 8 - |
16 |
28 |
0 |
|
|||||||||||
|---|---|---|---|---|---|---|---|---|---|---|---|---|---|---|---|---|
2 |
2 |
1 |
3 |
1 |
- |
- |
- |
- |
- |
- |
- |
1 |
1 |
1 |
- | |
Artemis, Hull Missile |
- | |||||||||||||||
- Layout B - Shivan  |
- 8 - |
16 |
18 |
0 |
|
|||||||||||
|---|---|---|---|---|---|---|---|---|---|---|---|---|---|---|---|---|
2 |
2 |
2 |
3 |
1 |
- |
- |
- |
- |
- |
- |
- |
1 |
1 |
- |
- | |
Heavy Pierce I, Fire Bomb |
- | |||||||||||||||
- Layout C - Tektite 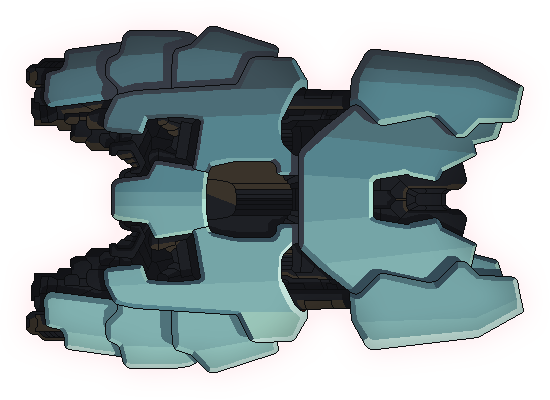 |
- 8 - |
16 |
15 |
0 |
|
|||||||||||
|---|---|---|---|---|---|---|---|---|---|---|---|---|---|---|---|---|
2 |
2 |
1 |
3 |
- |
1 |
- |
- |
- |
- |
- |
- |
1 |
1 |
1 |
- | |
Swarm, Crystal Heavy I |
- | |||||||||||||||
- Layout A - The Nesasio 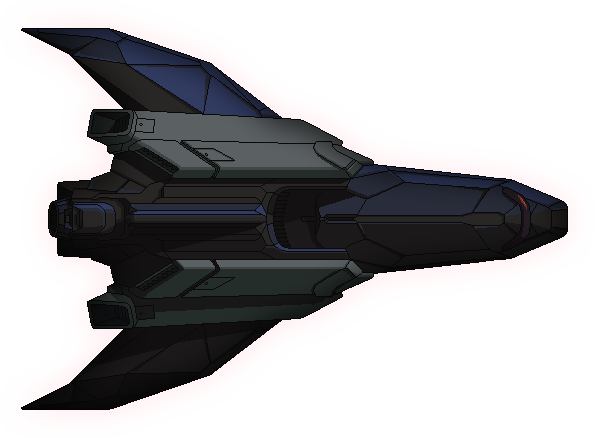 |
- 8 - |
16 |
0 |
0 |
|
Titanium System Casing | ||||||||||
|---|---|---|---|---|---|---|---|---|---|---|---|---|---|---|---|---|
- |
4 |
1 |
2 |
1 |
- |
- |
- |
- |
- |
1 |
- |
1 |
2 |
1 |
- | |
Mini Beam, Dual Lasers |
- | |||||||||||||||
- Layout B - DA-SR 12 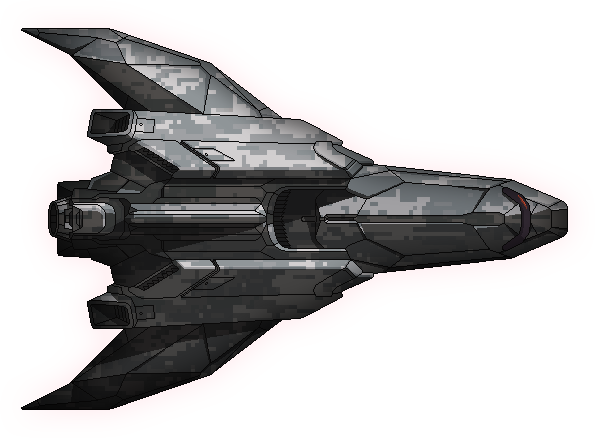 |
- 7 - |
16 |
0 |
0 |
|
|||||||||||
|---|---|---|---|---|---|---|---|---|---|---|---|---|---|---|---|---|
- |
2 |
1 |
4 |
1 |
- |
- |
- |
- |
- |
2 |
- |
1 |
2 |
1 |
- | |
Glaive Beam |
- | |||||||||||||||
- Layout C - Simo-H 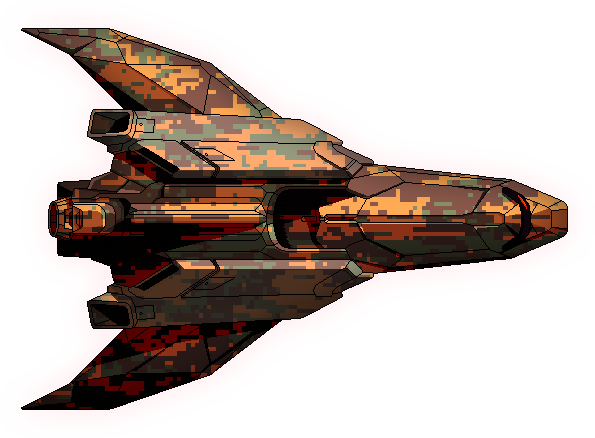 |
- 7 - |
16 |
0 |
16 |
|
|||||||||||
|---|---|---|---|---|---|---|---|---|---|---|---|---|---|---|---|---|
- |
3 |
1 |
2 |
- |
1 |
2 |
- |
- |
- |
- |
- |
1 |
- |
1 |
- | |
Charge Laser+, Mini Beam |
Shield+, Anti-Drone | |||||||||||||||
- Layout A - Kruos 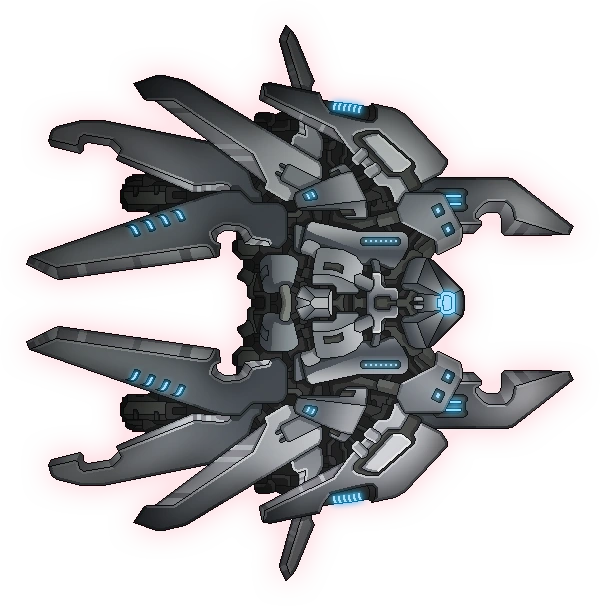 |
- 8 - |
16 |
3 |
9 |
|
|||||||||||
|---|---|---|---|---|---|---|---|---|---|---|---|---|---|---|---|---|
2 |
1 |
1 |
3 |
- |
1 |
- |
1 |
- |
- |
- |
- |
1 |
1 |
1 |
- | |
Chain Laser, Ion Stunner |
- | |||||||||||||||
- Layout B - The Shrike 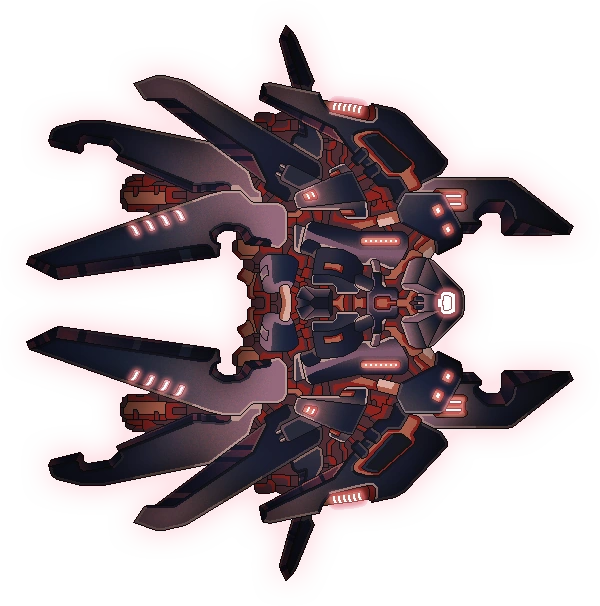 |
- 8 - |
16 |
0 |
0 |
|
|||||||||||
|---|---|---|---|---|---|---|---|---|---|---|---|---|---|---|---|---|
2 |
1 |
1 |
1 |
- |
1 |
- |
- |
1 |
1 |
- |
- |
1 |
- |
1 |
- | |
Advanced Flak |
- | |||||||||||||||
- Layout A - Bravais 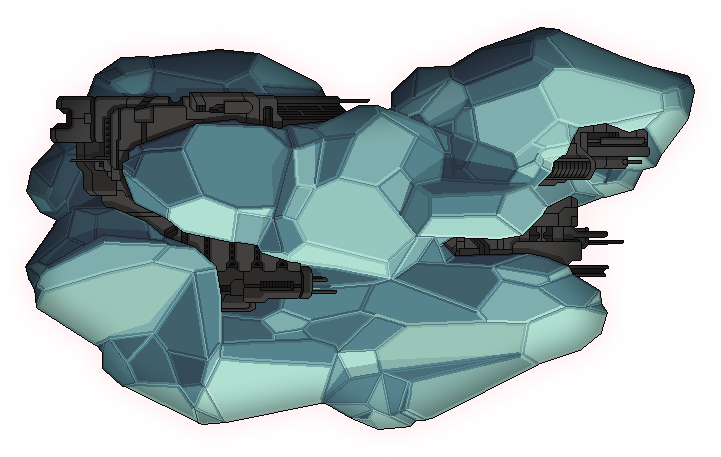 |
- 8 - |
16 |
0 |
0 |
|
|||||||||||
|---|---|---|---|---|---|---|---|---|---|---|---|---|---|---|---|---|
2 |
2 |
1 |
3 |
1 |
- |
- |
- |
- |
- |
- |
- |
1 |
1 |
1 |
- | |
Crystal Burst I, Heavy Crystal I |
- | |||||||||||||||
- Layout B - Carnelian 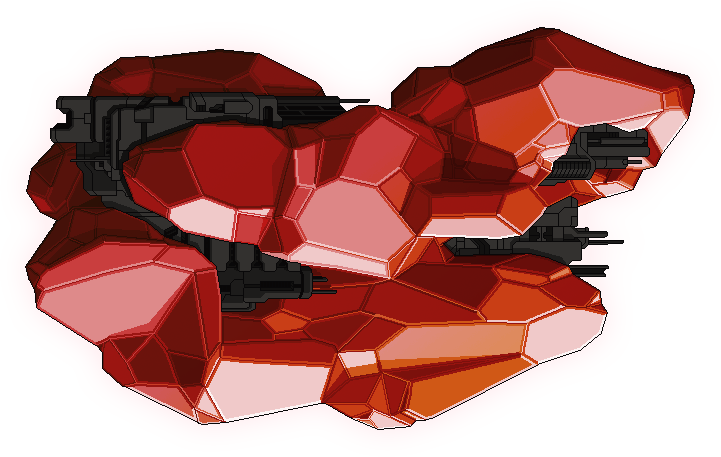 |
- 8 - |
16 |
0 |
0 |
|
|||||||||||
|---|---|---|---|---|---|---|---|---|---|---|---|---|---|---|---|---|
2 |
2 |
1 |
1 |
1 |
- |
- |
- |
- |
1 |
1 |
- |
1 |
1 |
1 |
- | |
- |
- | |||||||||||||||